
We bought our house in 2002 and it looked like this on the outside.


Now it looks like this


We hired an architect first in March 2008 after interviewing several. We chose Kaye because we really connected with her and felt that we would be on the same page throughout the project - we were right. She was a joy to work with.

We worked on our plans with Kaye for 6 months until we felt we were at a point where we were ready for contractor bids. Late 2008 was a tough time for contractors so we got some very good prices. We ultimately went with a contractor who had a good price but an "old school" methodology focused on craftsmanship and customer service. We also asked Kaye to sit in on our final interviews with contractors to be sure she felt the same way we did, and we all agreed that Jim was the guy for our job.
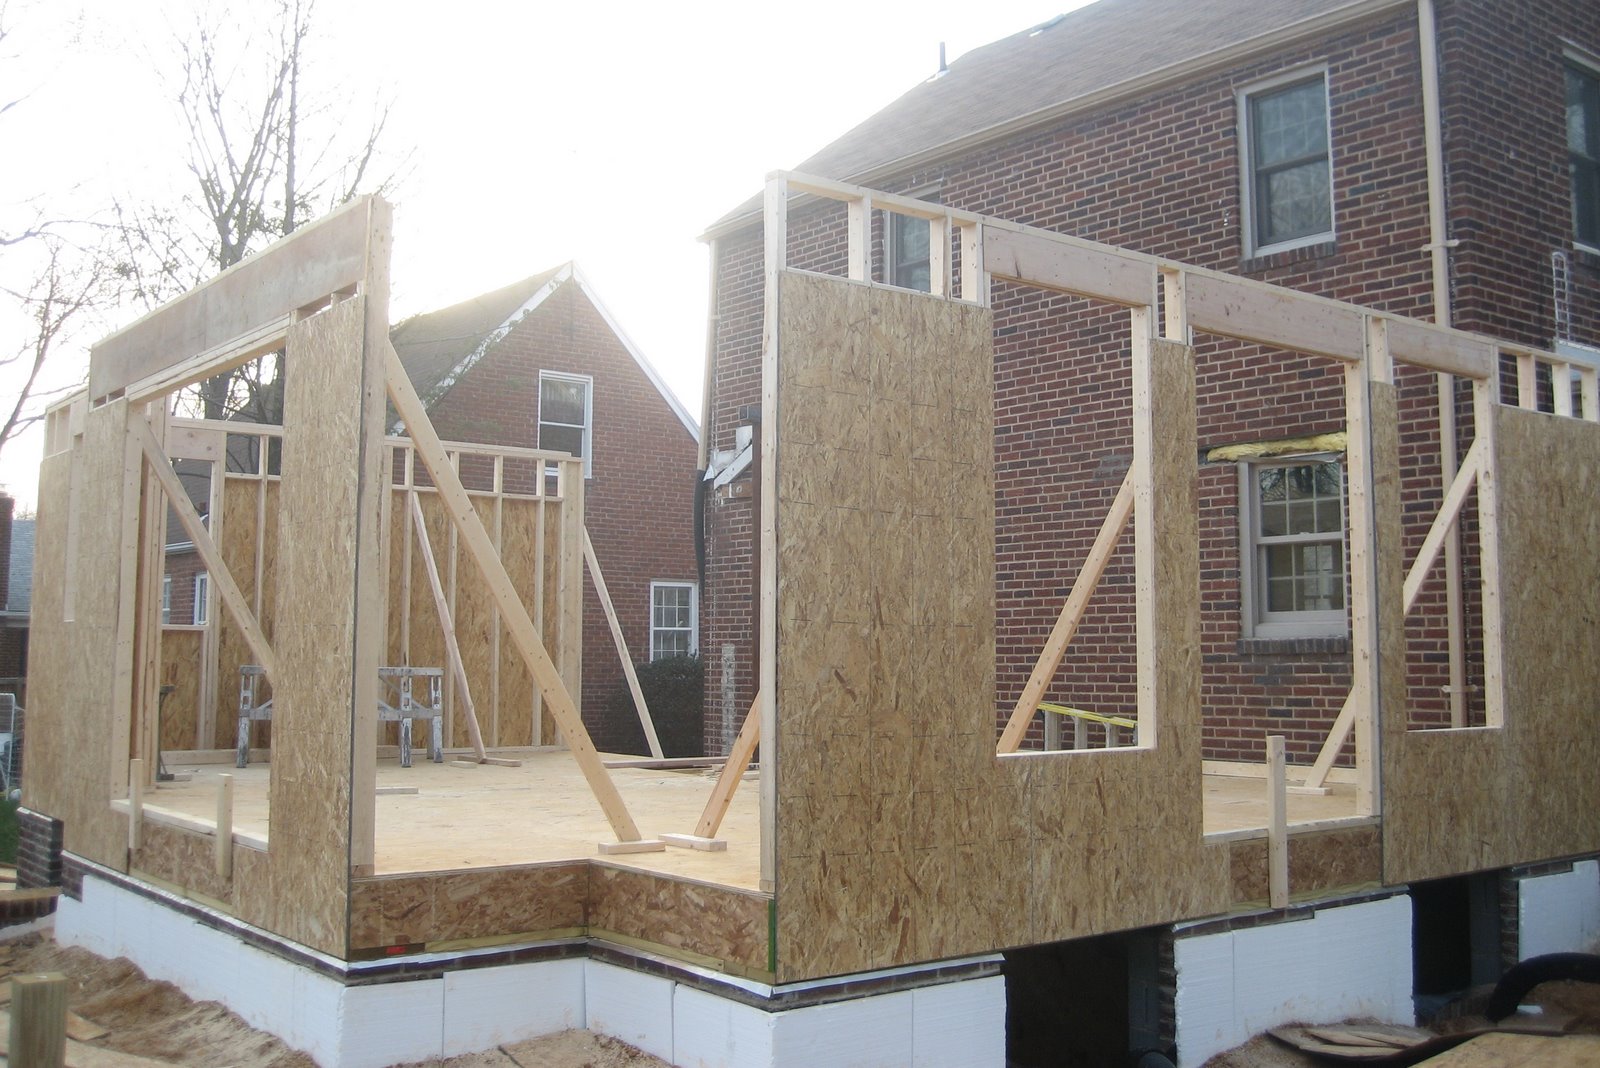
After a 6 week (sometimes frustrating) permit process, we got our permit at the end of January and Jim broke ground within hours. Over 6 months, we added 1800 square feet (essentially doubling the size of our house) on 3 floors (including an unfinished basement). We moved our stairwell from the back of our living room to the side of the house between the kitchen and dining room. Although our old house was brick, we chose to save a bunch of money and use HardiePlank on the addition. Yes, we were over budget but by less than 10% and we had planned to be over budget by 15-20%!
Throughout the process we tried to reuse and recycle as much as possible. We also made several "green" choices such as tankless hot water tanks, spray foam insulation in our attic, no VOC paint, and a high efficiency HVAC system. We were able to reuse 2 windows (in the garage), our garage opener, door hardware, our hardwood floors, 2x4s, and several doors. We also reused the brick from our old back porch for the foundation around house and garage.

In early 2010, we finished our new basement to include a bedroom, bathroom, and rec room. The old basement became Jim's workshop.
Here are a few tips for anyone considering doing an addition:
1) Above all, do the math to be sure the renovation will make sense for resale. Basically, if you sold your house pre-addition, and apply any profit to a new house plus what you would spend on the addition, is your mortgage less
Overly simplistic example: You paid $300K for your house and you owe $250K. Your addition will cost $100K. Your mortgage balance would be $350K after the addition. BUT, if you can now sell your house for $400K. A new house of similar size and finishes, in a comparable or better neighborhood, would cost $550K. You take your $150K from the sale, and the $100K you would have spent on the addition and put it towards the new house. You end up with a $300K mortgage: moving is the better option. If the new house is $700K then adding to your current house makes sense.
2) Be prepared to make a lot of decisions (many over the phone while you are at work) and live with those decisions. If it takes you a long time to make a decision, either don't do a major home renovation or start making decisions as early as possible.
3) Talk to a lot of architects and builders before deciding on who to use. Beware of a builder that says you don't need an architect for an addition. Drive around and find the houses with "warts" on them - no architect involved.
4) Hire unaffiliated architects and builders. Checks and balances are a good thing. Keep your architect on retainer throughout the building process.
5) Consider moving out. We moved out and it kept us sane. We didn't have to live with the dust and dirt, and it was worth every penny. I think we made better decisions because were not sleeping in a dusty bed every night.
6) Hold weekly meetings with your architect and builder throughout the building process - especially through framing. We used this time to discuss things like window placement and other things that we couldn't see until the building was up. We met with our builder almost every morning before we went to work to answer questions and to try to avoid mid-day surprises.
7) If a contractor says you don't need a permit - be wary. You might. It's easier for a contractor to do the work without a permit - no fees, no waiting, no inspectors. The fact is, the permitting process was created to protect homeowners and home buyers. If you get a permit and the work is inspected, you have a better guarantee that the work was done correctly. If not, you have no guarantee. Obviously it depends on your locality, but here in Arlington, if you are doing any foundation work, adding bathrooms, bedrooms, etc. You need a permit. If you don't get a permit, you may get burned when you sell your house because you'll either have to tear things out and get the permit later, or discount your selling price to account for the lack of permit.
8) Be prepared to not get exactly what you want, but also don't settle. It's a tricky balance because sometimes you do have to let things go but also don't take "no" for an answer - especially not when it's knee jerk reaction from a builder or one of the subcontractors.
9) Beware of the slippery slope - "Well, if we're doing this then we might as well do ..." Your house does not have to be "finished" when the crew walks away on the last day. You can still have things you want to do in the long run. For example, we didn't touch our existing upstairs bathroom although we probably could have done it for less than we will be able to do it for in the future, BUT we also knew we had spent enough at that time and we don't mind a project (or twenty!) down the road.
10) Sign a contract and have a professional review it. On this point, I would say there is a de minimis amount of work which I would say you do not need a contract. I would put that dollar amount at whatever amount you are comfortable with losing if the contractor walks away without doing the work. So, if you are getting $400 worth of tile work done then a contract is probably not necessary.
11) Shop around for financing (if you need it). Terms and rates vary widely between banks and mortgage lenders. We found the best rate at a local lender, when national banks wouldn't touch our project at the same interest rate. Be sure to check with credit unions as well (we refinanced with one recently) even if you aren't a member - they often offer great rates on financing.
Now for the fun stuff! I know you love pictures, so here you go -


If you want a play-by-play of our home renovation, you can pop over to my old blog where you can read my weekly posts about our progress.
Happy to answer more questions if you have any!
__________________________________________
Check out this week's House Party: Family Rooms here.
4 more days to enter the Gwendolyn Allis Apron Giveaway here.
