Showing posts with label Hall Bathroom. Show all posts

6.19.2014

Art for the Walls {Hall Bath}

It's finished! Well… mostly.  I still need to do a little touch-up paint on the trim.  It's a can of worms though because there are LOTS of places in my house that need trim touch-ups so once I start I might need an entire day to complete it all.  Still… done enough for a long overdue post!


The final piece of the puzzle was the art.  I struggled to no end with this.  I wanted something meaningful yet inexpensive and able to stand up to the abuse offered up by an ancient bathroom with poor ventilation.

I took a bunch of pictures last time we were visiting my parents in Siesta Key at a favorite breakfast location called the New Pass Grill.  The charm is in the trash-to-treasure decor and the man pelicans and other birds walking around the place like they own it.  


These three made the final cut. I amped up the color using Picasa so they were much more brilliant and artsy than originally.  I love them!  I am going to blow them up on big canvases for my imaginary beach condo.  

The other details included the shower curtain purchased on clearance from West Elm in January.  


And a before and after photo...

Definitely more calming yet still cheerful and youthful enough for my kids.  Some people may still be holding a candle for the wallpaper.  To them I say - get over it.  It was peeling and only looked good from afar.

Here's a really rough budget breakdown:

Vanity - $600
Paint - $50
Rug - $20
Shower Curtain - $15
Ring pulls - $25
Art frames - $45
Faucet - $90
Light fixture - $100
Plantation shutter - $150

Total - $1095

Not bad considering I was really hankering to rip the whole thing apart and start fresh. I now feel I can live with it for another 5 years… maybe 3 years before I start planning the next remodel.

Click here to see other posts about this reno.

5.21.2014

A Modern Vanity {Hall Bath}

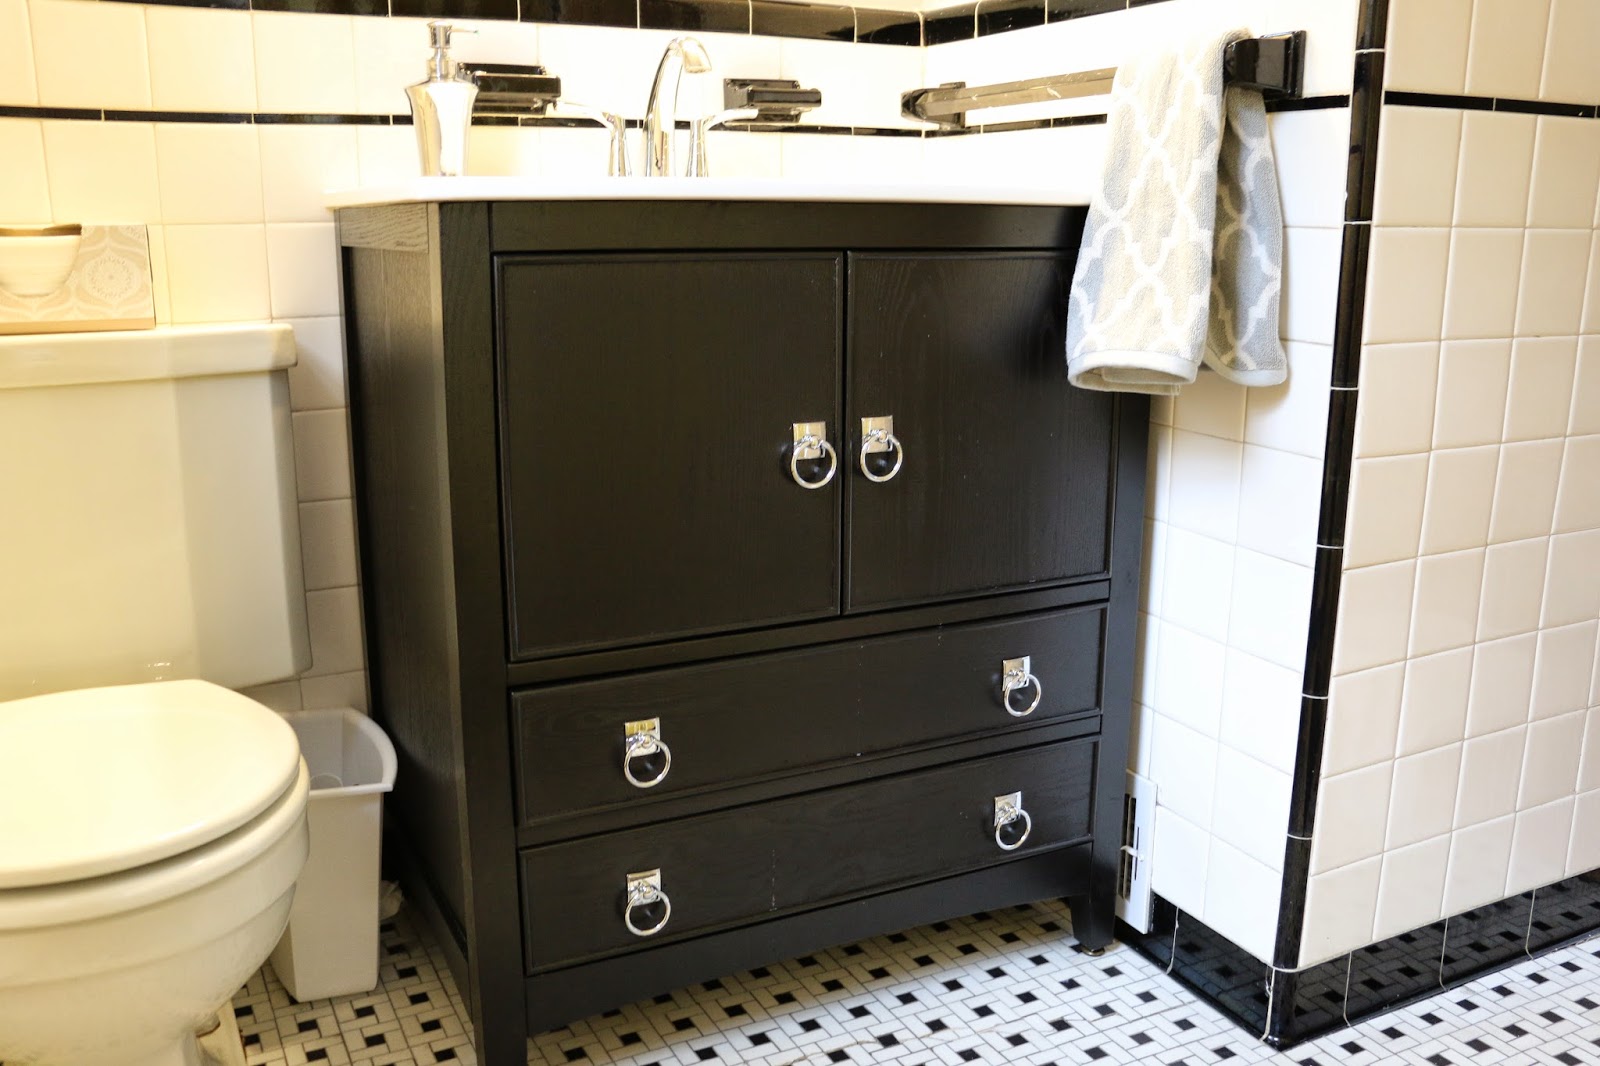
We have made lots of poorly documented progress on our bathroom.  Today I'm going to show off the new vanity area which is pretty awesome all around…

We previously had a pedestal sink which was installed by the previous owners.  No storage, didn't cover the pipes, very small sink.

Such an odd choice because there is plenty of space for something much larger. Pedestal sinks are not my favorite but they serve a purpose in a minute powder room.  No bathroom used by children should have a pedestal sink.  Just my opinion.

And now here's where we are...

The function is worlds apart from where we were with the pedestal sink.  We previously had a separate cabinet under the window to keep all of the stuff that bathrooms require - toilet paper, extra toothpaste, q-tips, etc.  Now the cabinet portion holds extra toilet paper and toothpaste. The drawers hold a hair dryer, hair ties, floss, and other smaller stuff.  I'll show you those another day but the long term goal is that each kid could have their own drawer.

The vanity was purchased here.  I searched long and hard for the perfect vanity - overall size, integrated sink, and two drawers in a  dark finish.  Not too easy to find but this was as good as it got for this price point.  It was $579 when I purchased it in December. Unfortunately it arrived with a cracked top but we didn't know it until we opened it in March.  Handy Hubby called Wayfair and they agreed to ship a new one without question.  Great customer service.  They didn't want the old one back, so we sold it on Craigslist for $150, even with the cracked top.  It was a good deal for someone, especially since new tops can be purchased at Lowes for about $100.

Handy Hubby installed this Kohler faucet.  The handles barely fit under the old soap and toothbrush holders.  Phew.

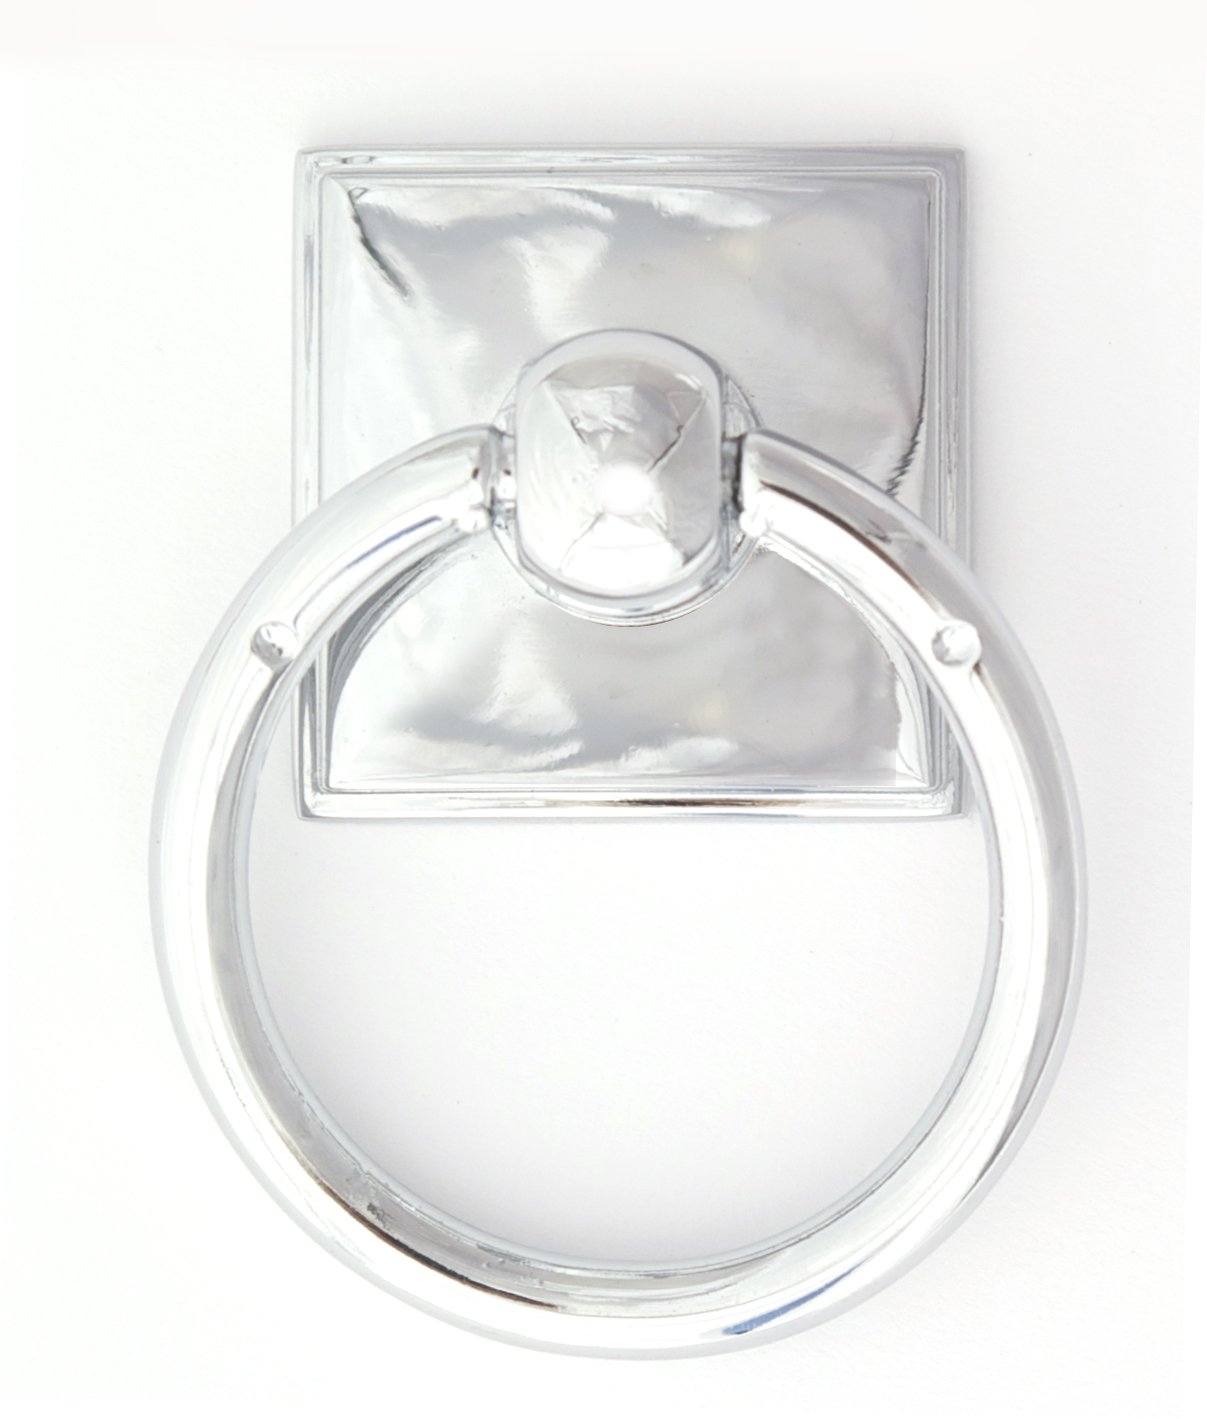
Of course, though I couldn't leave well-enough alone with the vanity.  The handles looked too small and they were a brushed nickel which seemed to clash with the faucet and other fittings.  So, I bought some of these pulls.

And started to install them.  Instantly better...


The mirror was a HomeGoods find from last fall when I first started dreaming of this project.  The light fixture is from Amazon.  It is not the highest quality and one of the glass shades didn't fit properly.  Handy Hubby was able to make it work but it's not perfect.  It's a pretty light and has the interesting twist of modern and traditional that I am always looking for in our house. Towels are from HomeGoods.


A few more details, particularly art, to finish up before the full reveal.  It's kind of hard to believe it's the same bathroom even thought we didn't touch the tile.


4.07.2014

Paint Progress {Hall Bath}

We have made some excellent progress in the bathroom!  Next up was paint.  I sampled a few but they were too dark.  In the end I made the bold decision to just pick a color and go for it with Sherwin Williams Gray Screen.


We also painted the ceiling the same color. This is our first painted ceiling (other than white) and I love it!  In this small room, having the ceiling and walls (at least the top half), make the room feel bigger with fewer lines to disturb the view.  


I also opted for plantation shutters in this bathroom as well.  I love them and they really make the room feel finished.  I need to repaint the trim though to match the shutters.  


Did you paint anything this weekend?  Lots more to come on this project!


3.14.2014

Hall Bathroom Progress

The hall bathroom progress continues slowly but surely.  I convinced Handy Hubby to sand the walls and ceiling over the weekend, and he started doing some additional hole patching.  So, here's how pretty it looks now.  John and Sherry called their master bathroom a "gas station bathroom" which is the perfect description for a bathroom with imperfect black and white tile and some pretty beat up and patched up walls.

Get your Pinterest buttons ready for some pretty pictures!


Here's the beautiful ceiling.  HORRIBLE.  It has looked horrible for about 8 years and we pretty much ignored it.  Amazing how that's possible, isn't it?  Please tell me we aren't the only ones looking the other ways while we help our kids in and out of the tub!


Thank goodness for the shop-vac sander attachment.  Now we need some seriously amazing primer.

1.30.2014

The Other Bathroom

This is a "before" post, and maybe a little "during" but we started on a new project.  Well, I started a project with a little help from my kiddos.  Handy Hubby took it easy on the couch while he recovered from a nasty little stomach bug.  I got a little bored on Sunday and started tearing up our upstairs hall bathroom.  This room has only ever been mentioned on the blog once before (here).

This room has been untouched since our renovation five years ago.  That said, I love this bathroom.  This is a really big original bathroom for Arlington homes.  Our layout is atypical for Arlington where most are center hall colonials which leaves a tiny space for a bathroom but they have larger bedrooms.  I also love the black and white tile despite its less than perfect condition.  The biggest problem is the large crack in the floor in front of the sink.  I put up the wallpaper in about 2003.  It lasted 10 years but the steam has finally taken its toll.


We have been talking about renovating this bathroom.  It's not in the budget for this year or probably next to gut and fully redo this bathroom.  I really want to though!  So, we're going to make some minor changes:

  • Remove my beloved wallpaper {sniff} & paint the walls (color TBD)
  • Change out the pedestal sink (not original) for a sink with actual storage
  • Remove the medicine cabinet and hang a slightly larger mirror in its place (we will have plenty of storage elsewhere for the contents of the current cabinet)
  • Maybe change out the toilet for a more water-saving model 
  • Install a new light fixture
  • Repair and paint the ceiling
  • Hang some art

Budget = $1000

Here are the rest of the "before" pictures…


So this happened on Sunday...

Chief amazing helper.


The area over the tub was the most challenging.


The walls are going to take a lot of work to get them paint ready but I'm not overwhelmed by prospect. The area around the tub is particularly horrible.  Lots of patching and sanding are in my future.

Next up I finish taking down the wallpaper and hopefully the medicine cabinet so I can get the rest of the paper off and hang the mirror over the gaping hole that I know is behind there from the original medicine cabinet.

And here's some original beauties from when we first moved into our house!


A sample of the original wallpaper doesn't really show it's iridescence!


Lots more to come on this project.  


1.09.2009

Changing Parts of our Existing House During Renovation

Because we've lived in our house for 6.5 years, we are fully aware of the short-comings of our existing house which cannot be changed by simply adding a big box on the back. First, our dining room is just a couple of feet too short. With furniture on 3 walls (buffet, china cabinet, and liquor cabinet), it is difficult to center our table where it should be. Second, our closets on the second floor are ridiculously small. The closet in our bedroom is so small that you cannot get a hanger in the closet in the regular way so we had to put bars two bars for my husband going perpendicular to the doorway on one side and shelves for sweaters and t-shirts on the other. I think it's a rather ingenious solution (it was my idea after all!) but it's still a ridiculously small closet.

Finally, our upstairs floors have never been refinished since we moved in. In fact, we only ripped the carpet out a year or so ago, since it was practically new when we moved in. (Note: If I could do it again, I would have ripped out ALL the carpet before we moved in and had all of the floors refinished then - lesson learned!). Finally, our upstairs hall bathroom needs a new floor and possibly a vanity.

So, when we entered into this renovation adventure, our intent was to change all of these things. Since we needed to get the floors refinished upstairs, it made sense to adjust the closets at this point since there will be floor exposed and changed. Most of the patching will be in the new closets, but still it makes the most sense to do the floors all at once (yet another reason to move out!). Fixing the closets for long-term use is also important. We have one daughter (and we don't know the sex of baby-to-be), so we KNOW she'll likely have a lot of clothes that will need to be hung out.

As I said in a previous post about moving our stairs, a major bonus of this project is that our oddly L-shaped tiny bedroom (about 8 x 11) will become a real bedroom about 11x12 in the end, so there will be significant floor patching in that room which will warrant floor refinishing.

As for the upstairs bathroom, during our interviews with contractors, several said it may be impossible to just replace the floor because the old tile can be very brittle and the tile walls could be cracked in the process. If that happened, then that would mean gutting the bathroom. Since this is a totally separate project which would not affect anything else in the house, we decided to put this off. Our bathroom is totally usable and not in horrible condition by any means (although it needs new paint or re-wallpapering) so it can definitely be put off for a later date. If anyone has successfully replaced a tile floor but not the walls on a 70 year old house, I would love to hear about it!

So, we are moving forward with most of the changes that we want to make. The hall bathroom can wait but since it won't detract from the house as it is, we'll just wait.
As you consider your addition, look closely at the parts of your existing house which you would like to change and consider including those in the project. In our case, the additional cost was minimal but the long-term benefits are huge.