
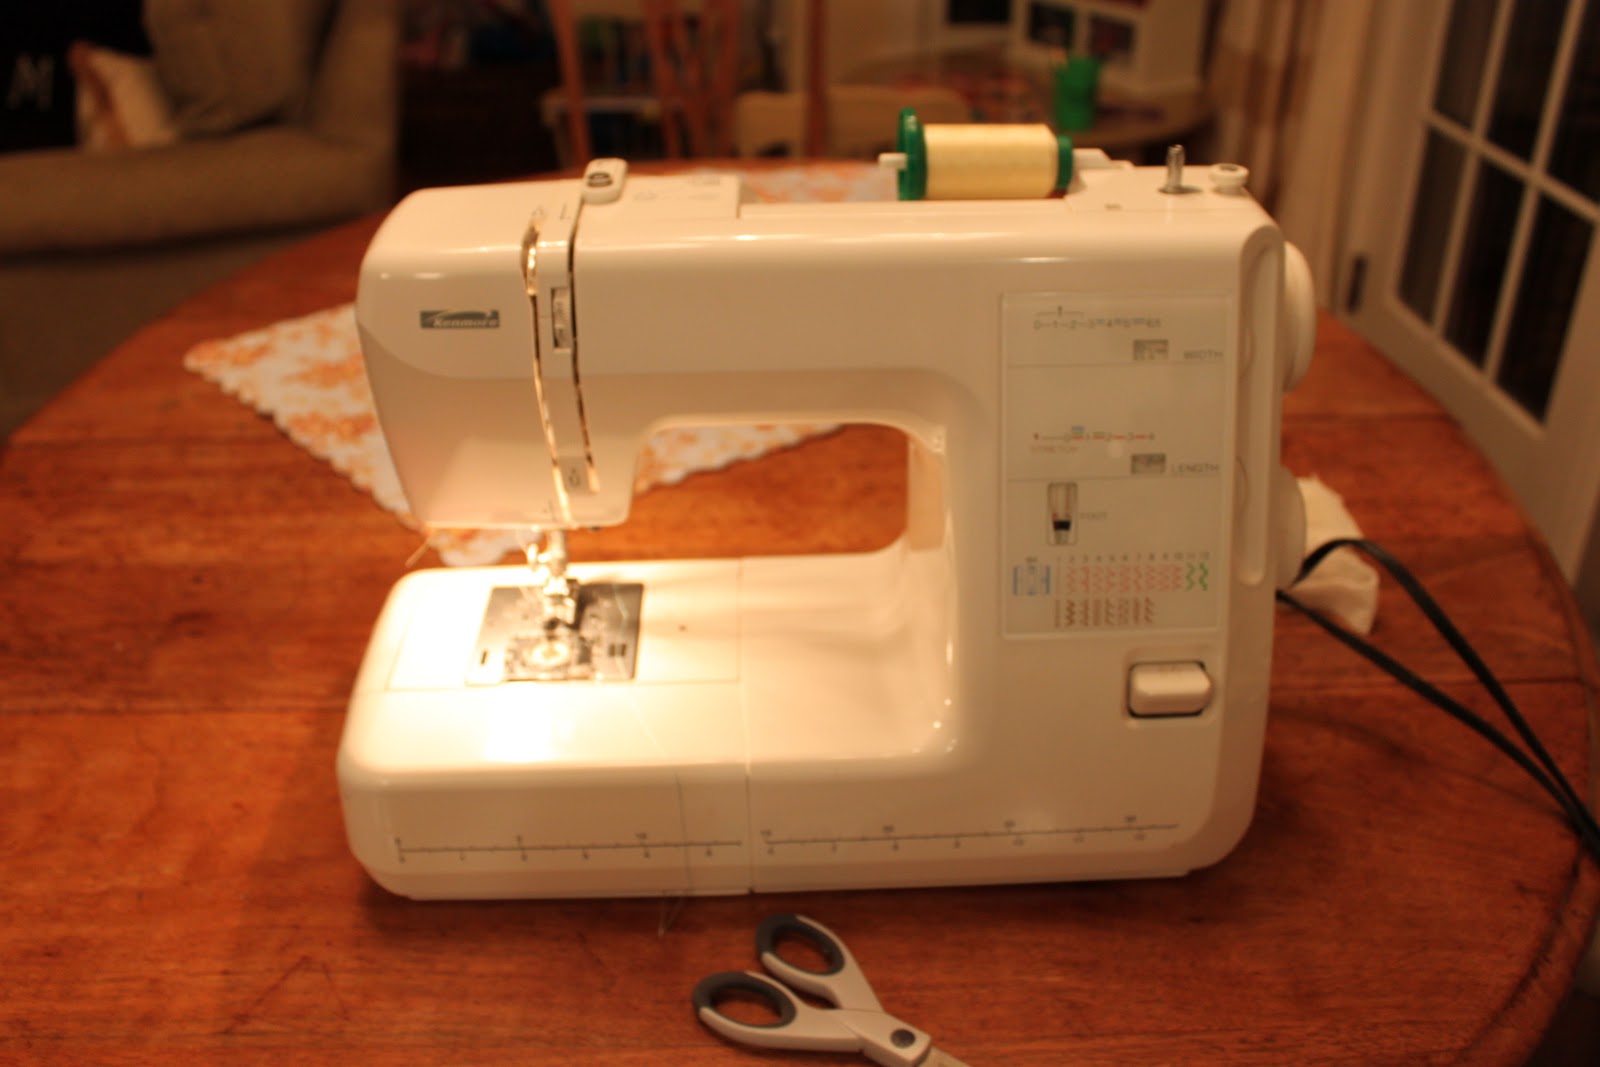
At 10 p.m. on Friday night before the shower started in approximately 14 hours, I decided that I was not happy with the draped lining in the basket I had prepared for guests to put books in for the baby (which we asked people to bring in the invitation). So, I got familiar with this old lady again.
But, I knew I was not going to be happy with the other options and the only thing that was going to get it done for me was a tailored basket liner. I used the same fabric that Kim chose for her nursery bedding - "Over the Moon" by Covington. I was able to order two yards from Online Fabric Store, and it sure came in handy several times!
 |
| OnlineFabricStore.com |
Here's a very quick tutorial with not too many pictures because I was pressed for time. The whole project took just over an hour but the results were great! It actually inspired me to use my sewing machine more so I have a few projects in mind.
I started by laying the fabric out on the table, and cut the 5 pieces - 4 sides and the bottom. I left about 2-3" around each side. I did not use a straight edge but just eye-balled it.
I started by sewing the sides to the bottom. I was careful to make sure the fabric was pointing in the same direction - upright all around the inside of the basket. Although I didn't snap any pics, everything was done with the liner inside out.

I then turned the liner right side out and stuck it in the basket. I first trimmed the extra on the outside - leaving about 5 inches around the entire thing.

Then 1 hour later, I had this!

As a reminder, here is how it looked in the book corner at the shower -

